I love taking photos. The stuffed files on my computer will tell you the same thing. Problem is, with so many photos, I can’t possibly frame, print, scrapbook, or have made into coffee mugs all these photos.

It used to be that every few months I would print a few months worth of my favorite photos and then slip them into photo albums to look at later. And we do look at our photo albums over and over again. But several years ago, I tried making a family yearbook and my first one or two were…yes, pretty cheesy, but I have learned a few things along the way. Now, our family yearbooks are some of our very favorite things. My family adores these and it makes me so happy to give these gifts.

How To Create a Family Yearbook
I use Shutterfly.com to create our books. Blurb.com is another good company that I’ve used.
For me, I’ve always got a coupon code for 50% off or some offer of some form or another from Shutterfly, so I usually go with them.
There’s several sizes to choose from and my favorite is the 8×11 inch. It is large but not too large and I always choose the hardcover option, but you can choose soft as well.
Choose your “Style”
You can choose from many, many themes and styles.
I always choose a style that’s just black and white. I don’t really want my books to look “scrapbooked” so that’s why I go that route, but there are a bunch of really creative templates, colors, and embellishments you can choose too if you like that.
I just choose a simple style because I’m a simple girl. Then you can choose “custom path” or “simple path.” Custom will give you blank pages and you fill them in how you want to. You choose the layout and then put your pictures in. The simple path is, yes, much simpler. There’s already a chosen layout on each page and you just put your pictures where you want. You can even choose to have the pictures automatically slide into the layout. I’m way too picky for that, but it would be super fast to choose the simple route.

These books do take me a long time to put together. Currently, I am behind, but I’m determined to catch up this year and have made it part of my goal list for this year.
This is a very therapeutic and creative project for me. I don’t mind that it’s time consuming because I enjoy it. Usually I get all gushy and emotional remembering over the year. *Sigh*

Organizing Photos to Make Family Photobooks Easier
When I upload photos, I organize them by date, month, and then by year. So right now, I have a big fat folder of all my photos from 2013, 2014, 2015 and so on. When I click on that, I have 12 nice, neat folders, one for each month.
I also label them like “2-2013” for each month, so they stay in numerical order by month, taking out any searching around for anything. Then when I click on the month, I have several folders from that month. I didn’t always do that, but it didn’t take very long to sit down one day and organize my photos. I back everything up on an external hard drive every so often, in case of a crash.
When I create my books, I organize those pictures into months and usually in chronological order within the month as well. Once in a while, its weird because I have a picture of a school project next to a sweet baby moment, but that doesn’t really bother me because I remember that the sweet baby moment happened the afternoon we did a fun project about blood in school.
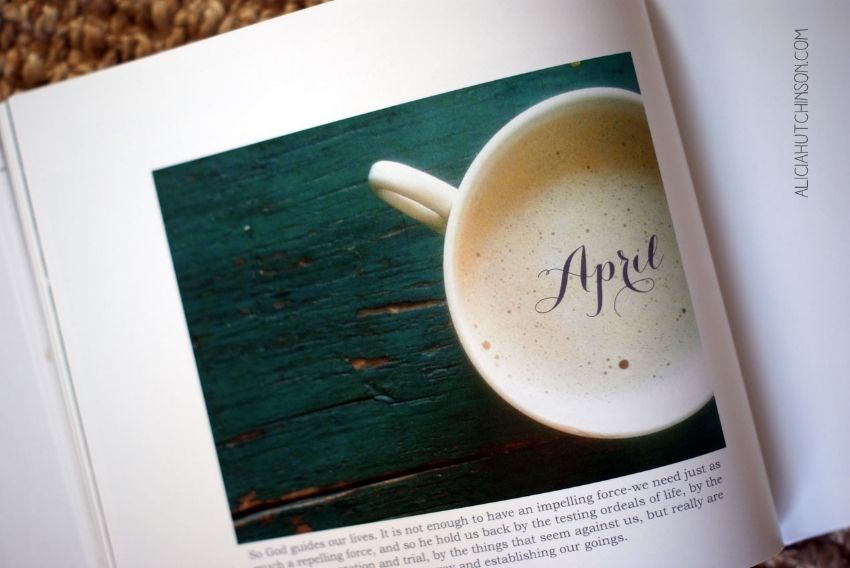
At the beginning of each month, I usually have a still life photo with the title of the month. Sometimes I will add a quote that was special that month. Like for this one. This April was super bittersweet for me. So much going on. I added a quote that really stood out to me on a really difficult day in April and I added it to the month’s title page.
I know I’ll associate that photo/quote/month with what was going on in our lives years down the road.

What to add in addition to photos
Next, I just put in the photos from that month. I don’t add a whole lot of narration, but I do a little. Here’s some things I add:
- Short notes to the kids on their birthday page
- Favorite quotes
- The KIDS’ quotes: funny things they’ve said through the year
- Poems we’ve memorized
- Itineraries from trips
You might not be able to see it, but I added Sophia’s quote about shedding her training wheels last spring. Now its not just a photo, but a preserved moment and it makes me immediately remember that day.


Special photo books
I’ve also created some special photo books that are just for certain experiences, like a trip.
Noah once took a ton of photos on some Boy Scout trips. I took those photos and created a book for him as a surprise.
Then for Sophia, I wanted to save some of her art into a book. I did this one in a big size of 12×12 inches. I used a layout called “Little Masterpieces” in Shutterfly. It was perfect for this project. I added lots of fancy art terms and such, like “original art done in oil pastels and watercolor” and an artist’s bio at the end.


I also added some of her quotes and favorite colors, etc. as well as some famous quotes about art.


So that’s it! I love our photobooks and the best part is, if anything ever happened to them, I can reorder, as they’re always saved in my projects in my account.
Hope you enjoyed!
You Also Might Like:
The post How To Create Photos Yearbooks Your Family Will Adore appeared first on Living Well + Learning Well.